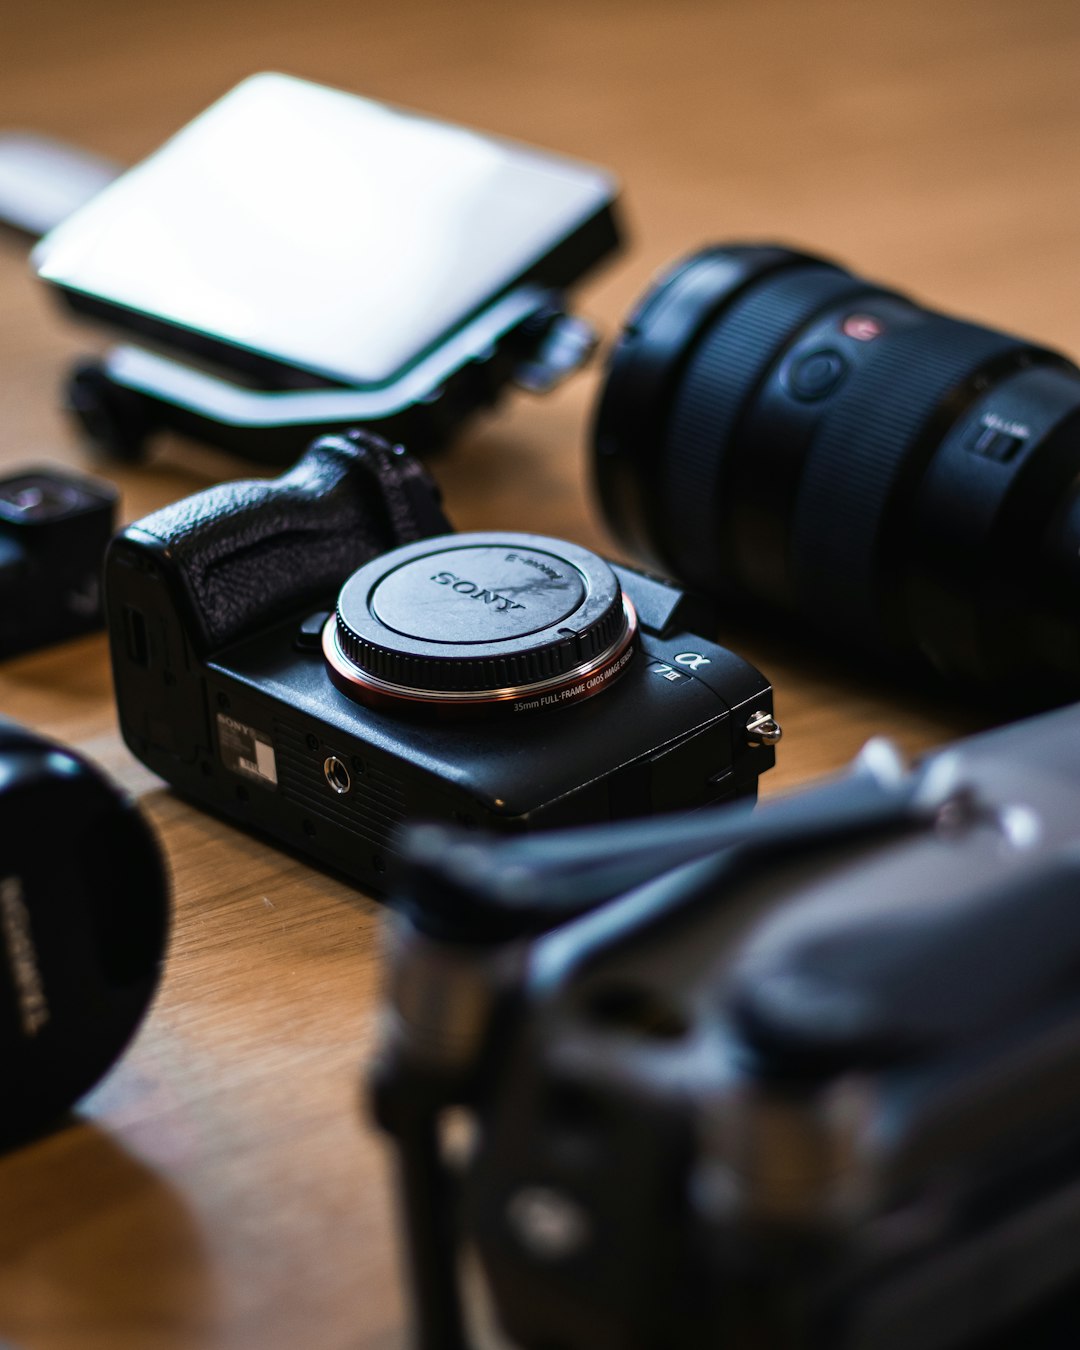
Post-processing is an essential part of the modern photographer's workflow. Far from "cheating," thoughtful editing helps realize the full potential of your images, correcting technical issues and enhancing your creative vision. In this comprehensive guide, we'll explore the essential post-processing techniques that can transform your photographs from good to exceptional.
The Post-Processing Philosophy
Before diving into specific techniques, it's important to establish a healthy approach to photo editing:
- Enhance, don't fabricate: Use editing to bring out the best in your images, not to create something that wasn't there.
- Maintain a natural look: Unless you're going for a clearly artistic effect, subtle edits that maintain realism are usually most effective.
- Start with the best possible image: Post-processing works best when enhancing an already solid photo, not fixing fundamental issues.
- Develop a consistent style: Your editing approach should help define your personal photographic style.
Essential Post-Processing Software
While there are many editing tools available, these are the most widely used professional options:
Adobe Lightroom
Perfect for organizing and performing non-destructive edits on large numbers of photos. Lightroom excels at global adjustments and managing your photography library.
Adobe Photoshop
The industry standard for pixel-level editing, complex retouching, and compositing. Photoshop offers limitless creative possibilities but has a steeper learning curve.
Capture One
Known for superior color rendition and tethering capabilities, Capture One is popular among professional photographers, especially for portrait and fashion work.
Affordable Alternatives
Budget-friendly options include Affinity Photo, DxO PhotoLab, ON1 Photo RAW, and the free RawTherapee and GIMP.
Pro Tip:
Most software offers free trials. Experiment with different options before committing, as finding the right tool for your workflow is a personal choice.
Raw Processing: The Foundation
Shooting in RAW format provides maximum flexibility in post-processing. Here are the essential adjustments to make during raw conversion:
Exposure Correction
Adjust the overall brightness of your image. Modern RAW files can often be recovered even when significantly under or overexposed.
Technique: Look at the histogram while adjusting exposure to ensure you're maintaining detail in both highlights and shadows.
White Balance
Correct the color temperature of your image to eliminate unwanted color casts.
Technique: Use the white balance eyedropper to click on a neutral gray area of your image, or adjust the temperature slider until skin tones and whites look natural.
Lens Corrections
Fix distortion, vignetting, and chromatic aberration caused by your lens.
Technique: Most software includes lens profiles that automatically correct these issues with a single click.
Basic Tonal Adjustments
Fine-tune the contrast and dynamic range of your image:
- Highlights and Shadows: Recover detail in bright skies or dark shadows
- Whites and Blacks: Set the absolute white and black points for proper contrast
- Contrast: Adjust the overall difference between light and dark areas
Advanced Color Grading
Color is one of the most powerful emotional elements in photography. Here's how to take control of your image's color:
HSL (Hue, Saturation, Luminance) Adjustments
These controls allow you to target specific colors in your image independently:
- Hue: Shift the actual color (e.g., make greens more yellow or blues more cyan)
- Saturation: Adjust color intensity
- Luminance: Control the brightness of specific colors
Technique: Use HSL to reduce the saturation of distracting background elements or to make specific colors (like foliage or sky) more vibrant without affecting the entire image.
Split Toning / Color Grading
Add different colors to the highlights and shadows of your image to create a distinctive mood.
Technique: For a subtle cinematic look, try adding a soft blue to shadows and warm orange/yellow to highlights. Keep the saturation low for a natural result.
Vibrance vs. Saturation
Understanding the difference between these similar adjustments is crucial:
- Vibrance: Intelligently increases saturation of less saturated colors while protecting skin tones
- Saturation: Uniformly increases the intensity of all colors
Technique: For portraits, favor vibrance over saturation to avoid making skin look unnaturally colorful.
Local Adjustments: Precision Editing
Not every part of your image needs the same adjustments. These tools allow you to target specific areas:
Graduated Filters
Apply adjustments that gradually transition across your image. Perfect for skies, horizons, and any situation with a linear transition.
Technique: Use a graduated filter to darken an overly bright sky while leaving the foreground untouched.
Radial Filters
Create circular or oval adjustments that can either affect the inside or outside of the selection. Ideal for vignetting or highlighting central subjects.
Technique: Use a radial filter around your subject with slightly increased exposure and clarity to draw attention to them.
Adjustment Brushes
Paint adjustments exactly where you need them for maximum control.
Technique: Use adjustment brushes to brighten eyes, whiten teeth, dodge and burn specific areas, or remove distracting elements.
Retouching: Enhancing Portraits
Portrait retouching is a specialized skill that requires a delicate touch to maintain natural results:
Skin Retouching
Techniques for creating smooth, natural-looking skin:
- Frequency Separation: Separates texture from color, allowing you to smooth skin without losing detail
- Healing Brush: Removes blemishes and imperfections by sampling nearby skin
- Dodge and Burn: Enhances facial structure by subtly adjusting light and shadow
Technique: For natural retouching, preserve skin texture and only remove temporary blemishes, not permanent features like freckles or moles that are part of a person's identity.
Eyes Enhancement
Since eyes are the focal point of most portraits, subtle enhancements can make a big difference:
- Brighten the whites (but avoid making them unnaturally white)
- Enhance iris detail and color
- Darken and sharpen eyelashes and eyebrows
- Add catch lights if they're missing
Liquify Tool
This powerful tool allows for subtle reshaping but should be used with extreme restraint:
Technique: If using liquify, stick to corrections that could have been achieved through better posing or lens choice. Avoid dramatically changing someone's appearance.
Sharpening and Noise Reduction
These final technical adjustments can make or break image quality:
Sharpening Techniques
- Input Sharpening: Compensates for the softening effect of digital capture
- Creative Sharpening: Emphasizes texture and detail in specific areas
- Output Sharpening: Tailored to final use (print vs. web)
Technique: Use masks to apply sharpening selectively. Over-sharpening skin can emphasize texture in unflattering ways, while landscape details often benefit from stronger sharpening.
Noise Reduction
Balance between reducing noise and preserving detail:
- Luminance Noise: Appears as grainy texture
- Color Noise: Shows up as colored speckles
Technique: Address color noise first, then carefully reduce luminance noise while watching for detail loss. Apply more aggressive noise reduction to backgrounds than to main subjects.
Creative Effects and Styles
Once you've mastered the technical aspects, explore these creative techniques:
Black and White Conversion
Creating impactful monochrome images goes beyond simply removing color:
- Adjust the luminance of individual colors to control how they translate to grayscale
- Increase contrast for dramatic black and whites
- Consider split toning to add subtle color (like selenium or sepia toning)
HDR (High Dynamic Range)
Combine multiple exposures to capture detail in both highlights and shadows:
Technique: For natural-looking HDR, keep the effect subtle. Avoid the oversaturated, halo-ridden look that characterizes poorly executed HDR.
Panorama Stitching
Combine multiple images for ultra-wide views or high resolution:
Technique: Overlap your shots by at least 30% and maintain consistent exposure settings across all images.
Developing Your Personal Editing Style
A consistent editing style helps make your work recognizable and cohesive:
Creating and Using Presets
Save your favorite adjustment combinations as presets to maintain consistency and speed up your workflow:
Technique: Create base presets for different lighting conditions (sunny, overcast, indoor) and then fine-tune from there.
Building a Style
Analyze photographers whose work you admire and understand the color and tonal choices that define their look:
- Pay attention to contrast levels
- Notice color palettes and relationships
- Look for signature techniques (like the use of negative space or specific color grading)
Ultimately, your style should emerge organically from your preferences and the types of images you create.
Post-Processing Workflow Best Practices
Non-Destructive Editing
Always preserve your original files and edit in ways that don't permanently alter your image data:
- Use adjustment layers in Photoshop
- Work with virtual copies in Lightroom
- Save versions at different stages of your edit
Editing Order
A logical sequence improves efficiency and results:
- Lens corrections and cropping
- Global exposure and white balance
- Tonal adjustments (highlights, shadows, contrast)
- Color adjustments
- Local adjustments and retouching
- Sharpening and noise reduction (final steps)
Consistent Monitor Calibration
Ensure what you see is accurate by calibrating your monitor regularly with a hardware calibration device.
Conclusion
Post-processing is both technical craft and creative art. As you develop your skills, remember that the best edits often go unnoticed—they enhance the image without calling attention to themselves. Start with the fundamentals, practice regularly, and gradually develop your own distinctive style.
What's your favorite post-processing technique? Share your thoughts and tips in the comments below!


